News

Eczema Broke My Mind: How I Recovered
A friend of mine is having a breakdown right now. I shared some of my story with her a couple of days ago, including my eczema, my breakdown and what helped my recovery. She found it comforting to...
Read more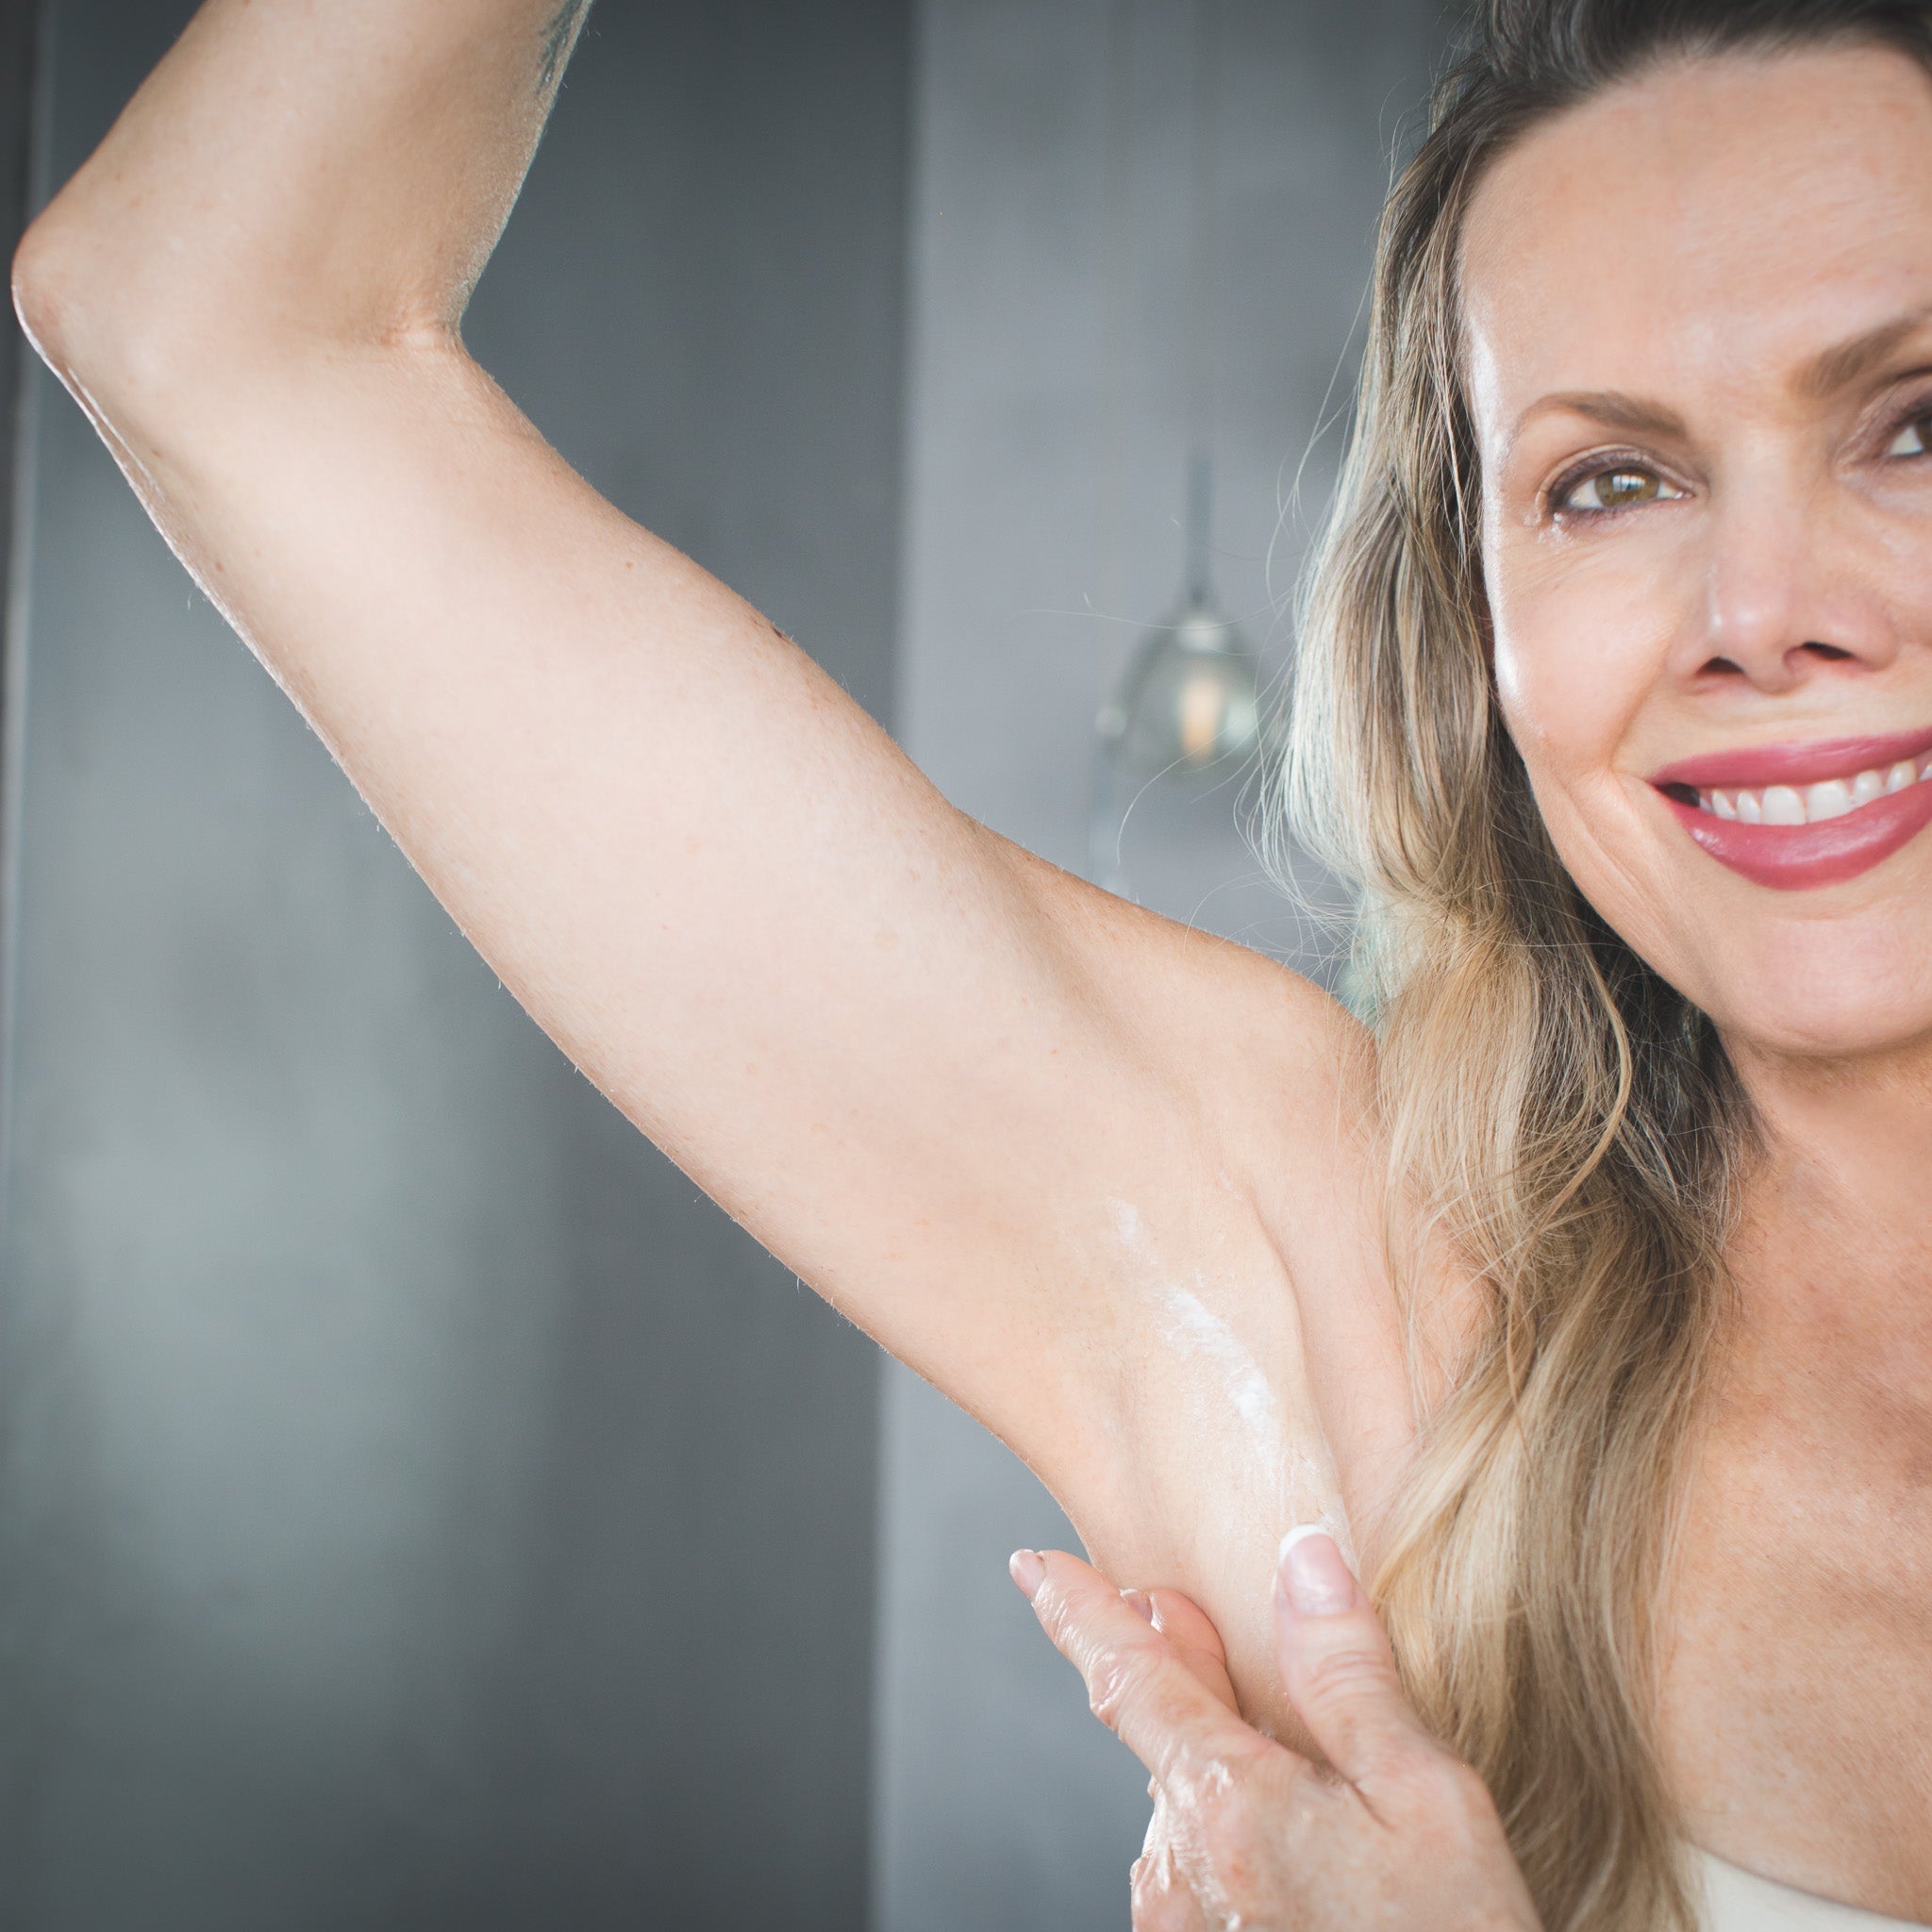
How to Prevent Body Odour Naturally and Permanently
Are you paranoid about smelling a bit funky, so you pile on deodorant? Or maybe you’ve got that one friend (or partner — we all know one) who always smells a little… ripe. You might secretly wish t...
Read more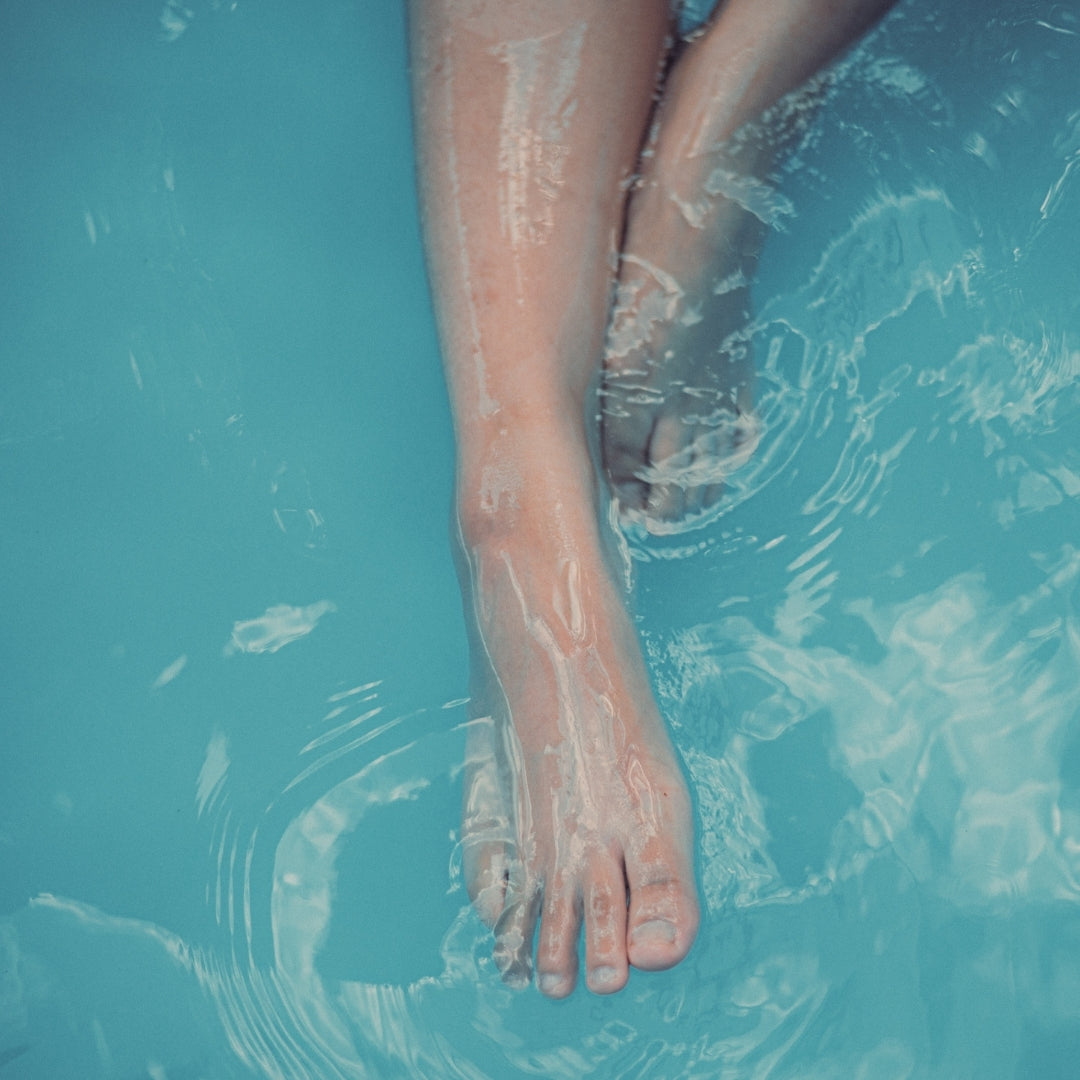
Why Are My Feet Burning At Night? The Vitamin Remedy You Need To Know
Confession time: as a young nutritionist (24 years ago), I once managed to make myself sicker with a vitamin supplement. It was 1 am and my feet felt like they were on fire. Desperate, I stood i...
Read more
Top 8 Vitamins for Glowing Skin — A Nutritionist’s Guide
Discover the top 8 vitamins and minerals for healthy, glowing skin — plus how they support your gut. Learn what to take, why it works and how to nourish your skin from the inside out.
Read more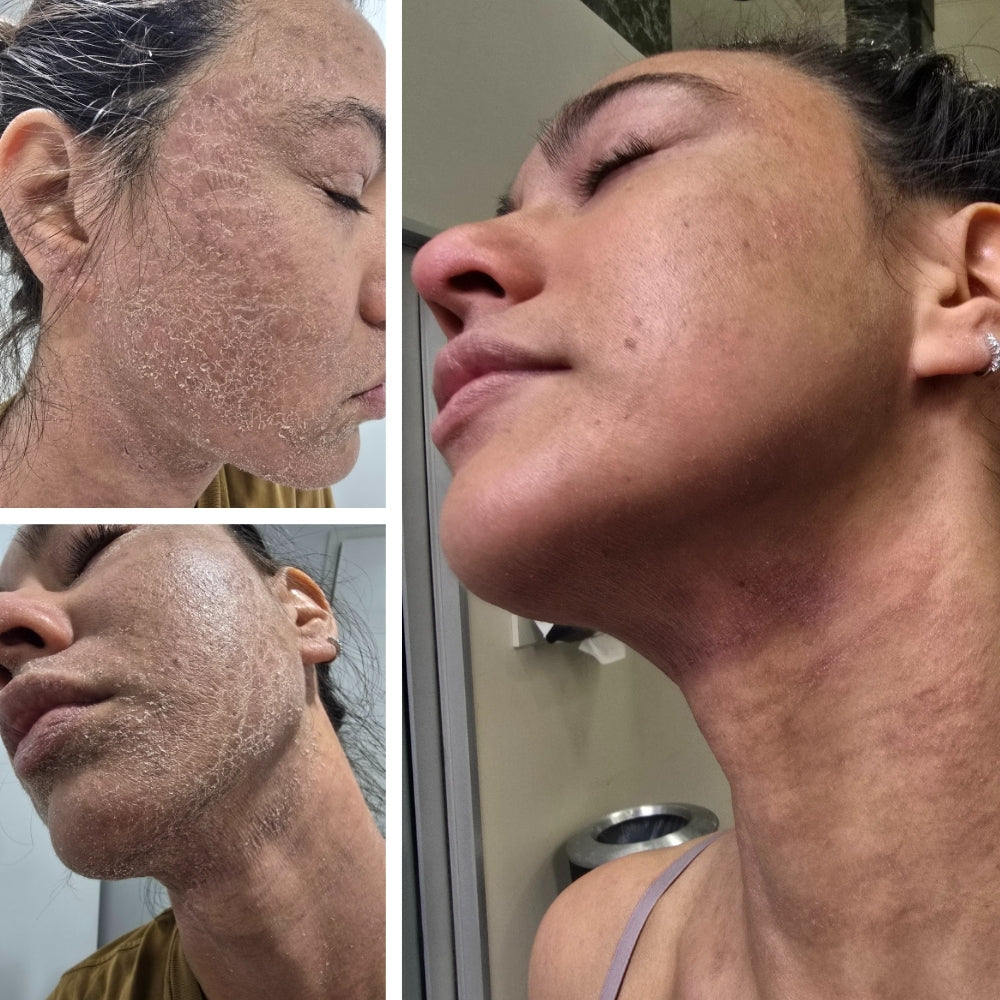
Raine’s Recovery: Infection + Immune Support Plan (Part 2)
If you’re constantly getting staph infections, experiencing candida albicans overgrowth, or dealing with eczema that just won’t settle, it’s time to look deeper. Because while it’s tempting to blam...
Read more
Skin Friend Founder on 9 News—Is Eczema Linked To Histamine?
Video: Nine News and Karen Fischer interview at Skin Friend HQ, June 11th, 2025. A new study from Bond University—as seen on 9 News Australia—has uncovered evidence that naturally occurring food...
Read more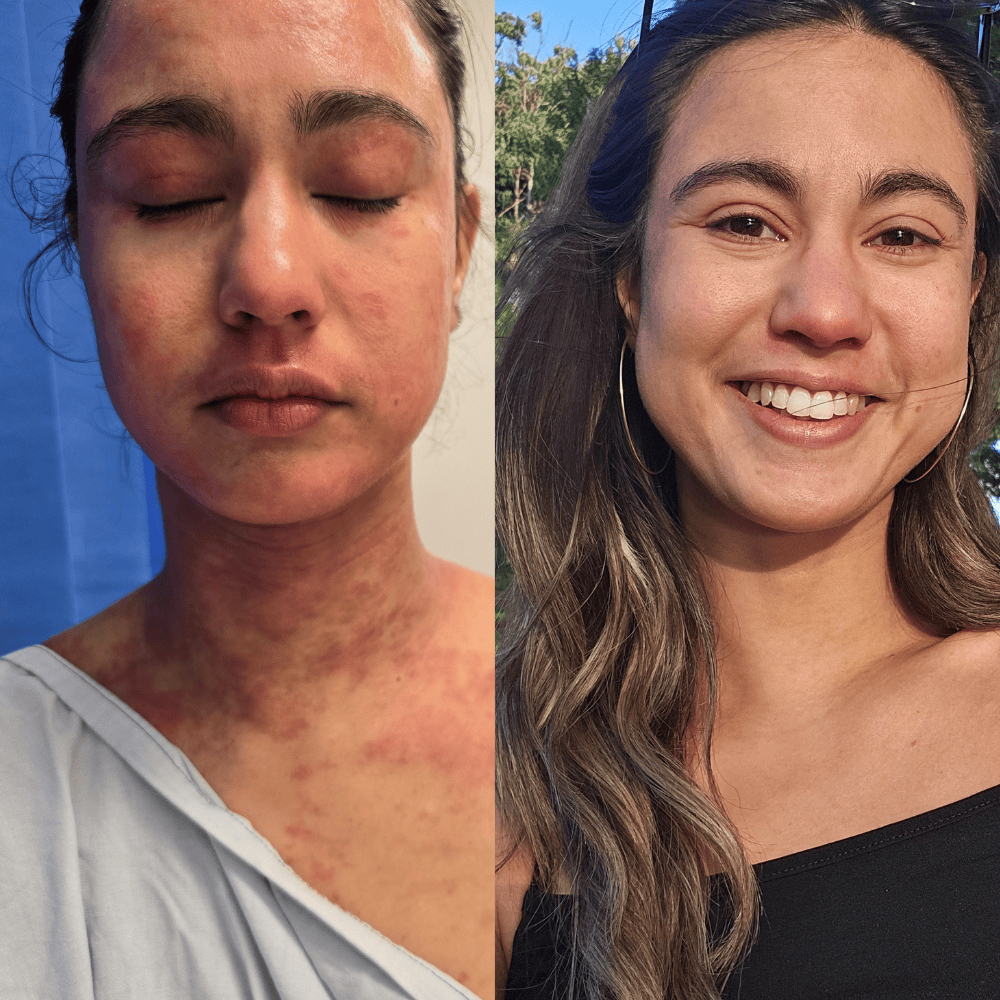
Skin Microbiome: The Missing Link in Most Skincare Routines (Part 1)
Yesterday I spoke with a beautiful young woman named Raine, who’s been dealing with eczema and now topical steroid withdrawal (TSW) for the past two years. Her journey hasn’t been easy. In 2022, ...
Read more
PFAS "Forever Chemicals" in Skincare: Why Natural Does Not Always Mean Safe
Is Your Skincare Really Safe? The Case for PFAS-Free Products: If you or your loved one is living with eczema or sensitive skin, you know how important it is to find skincare that’s not just gen...
Read more
Are Fermented Foods Doing More Harm Than Good?
Fermented foods are often praised as the holy grail of gut health. But if you’re one of the millions struggling with eczema, rosacea, irritable bowel syndrome, headaches or chronic hives, these so-...
Read more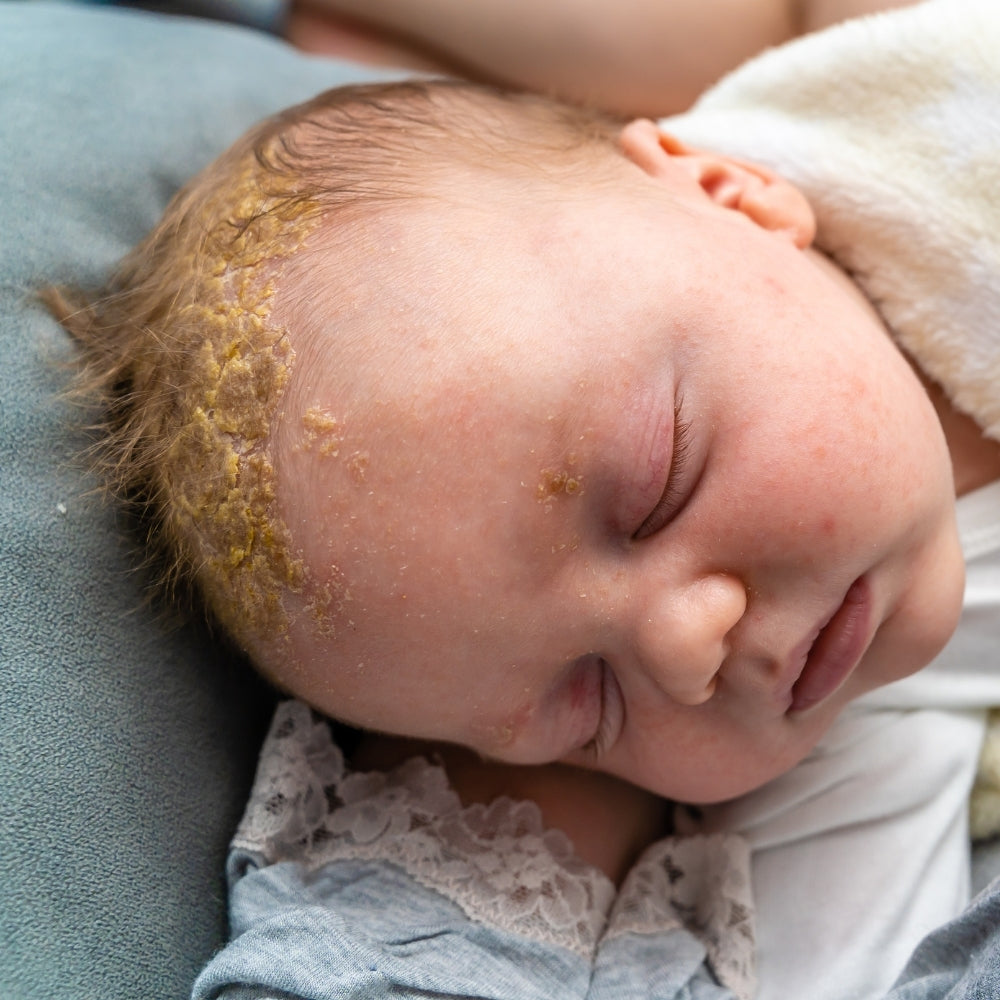
Cradle Cap Explained: The True Causes, Treatments & What to Avoid
Cradle cap, those flaky, yellowish patches that often appear on a baby’s scalp, can be confusing and even a little alarming for new parents. While it’s common and usually harmless, understanding w...
Read moreshop the story
skin essentials