There is nothing I love more than reading a magazine while soaking in a warm bath with a fizzy bath bomb that makes my skin glow.
These Rose Bath Bombs make AH-MAZING gifts for friends and family and they are surprisingly easy to make. Plus kids LOVE them. It makes bath time fun.
What's in them?
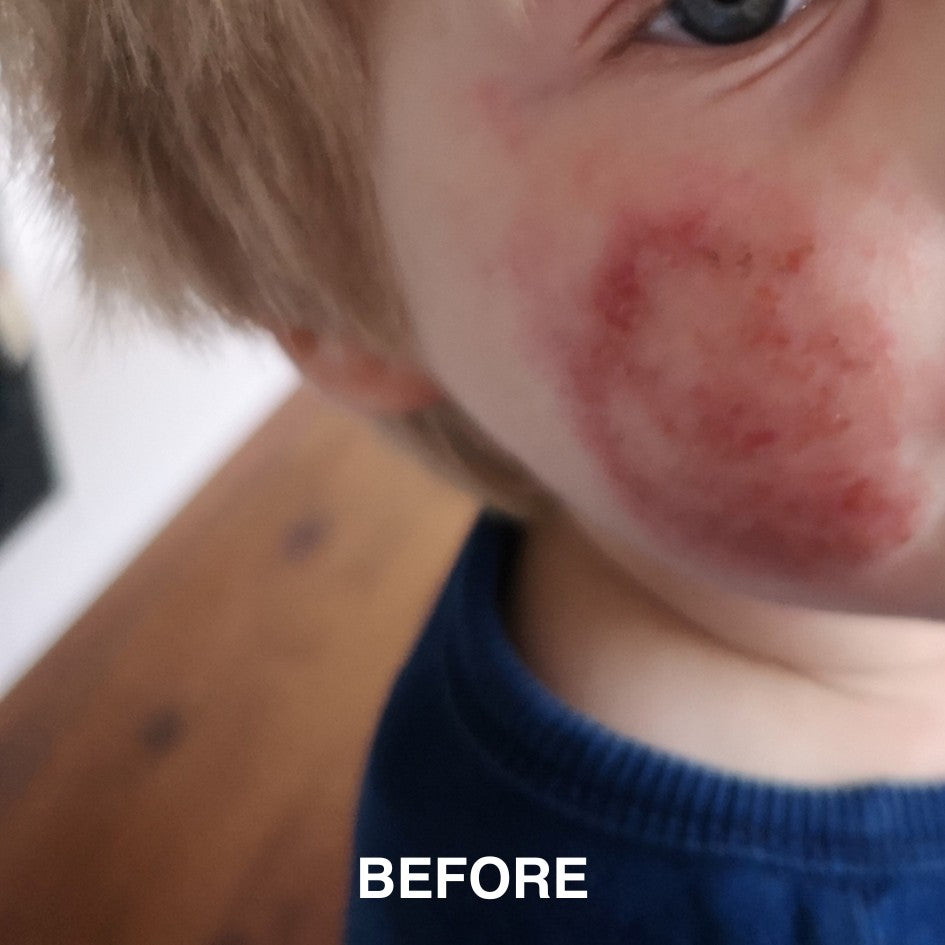
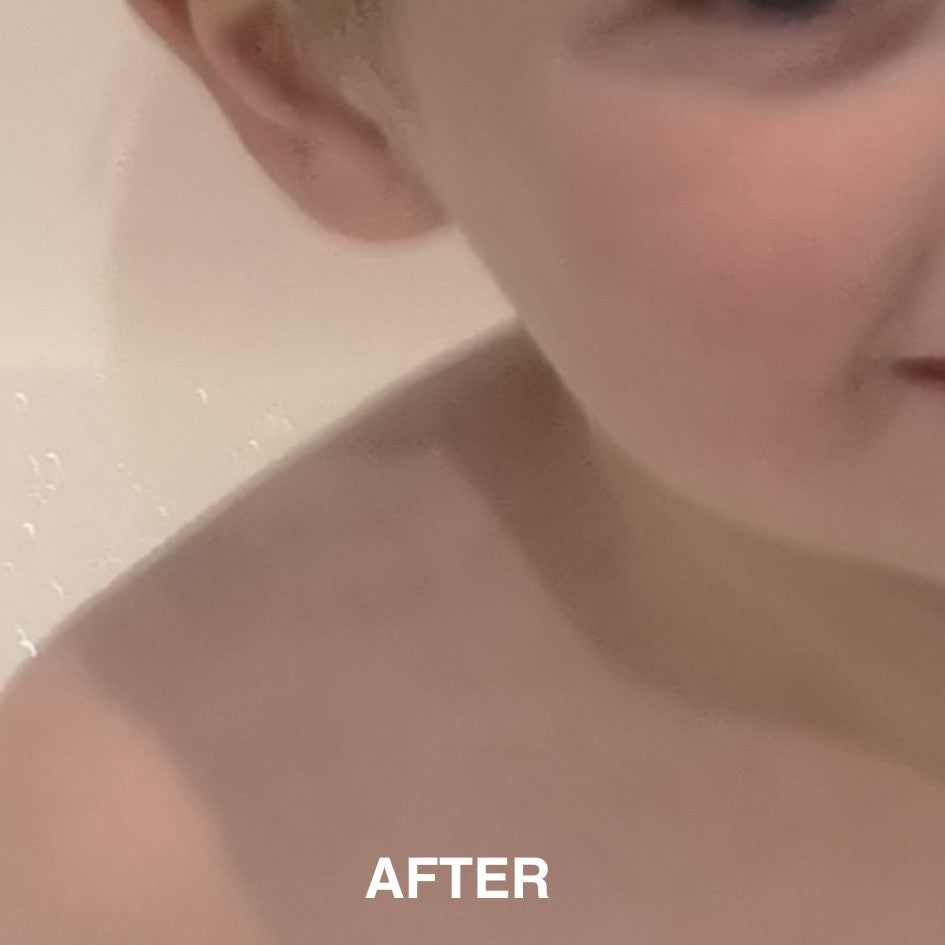
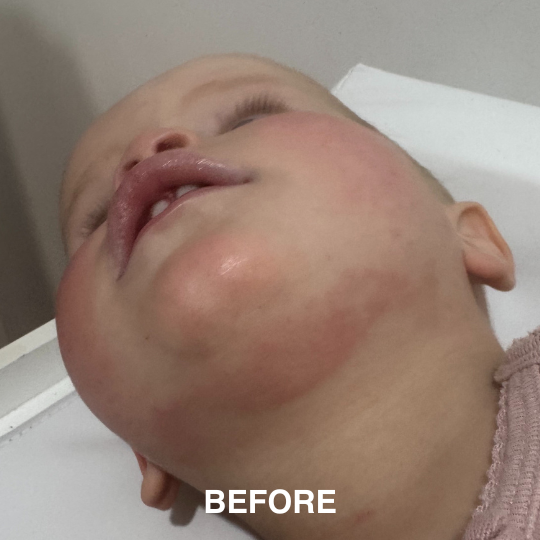
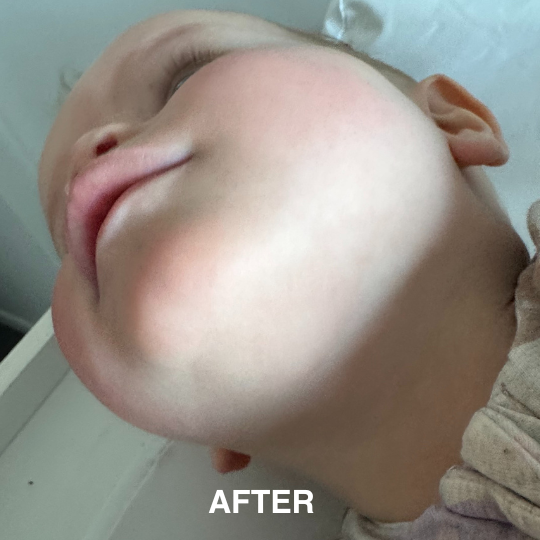
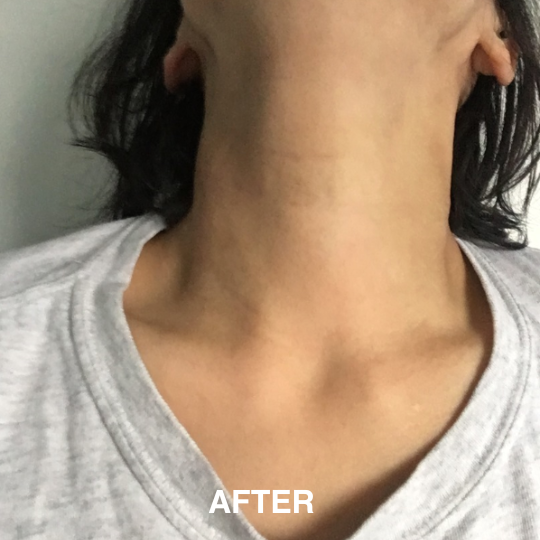
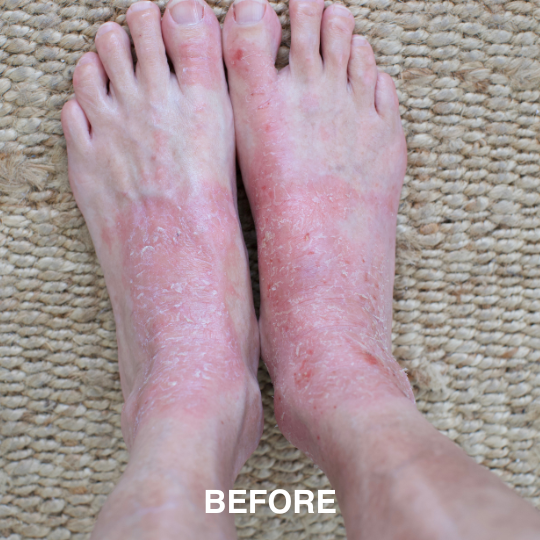
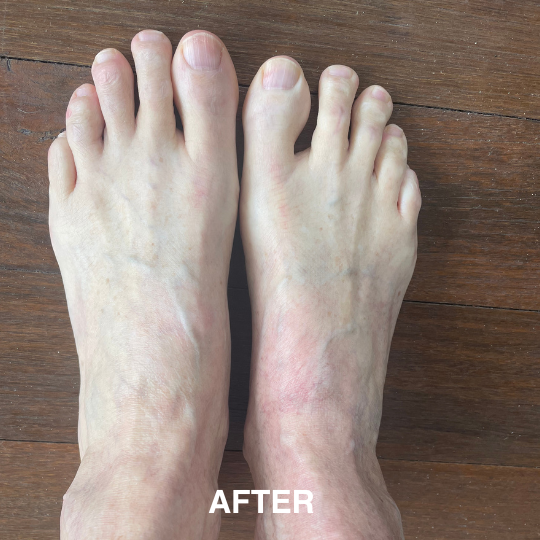
- Oat (avena sativa) powder contains cleansing saponions and beta-glucan, which forms protective barriers to soothe and hydrate your skin
- Bicarb (bicarbonate/baking soda) has anti-bacterial and exfoliating properties
- and zinc oxide soothes the skin and has mild wound healing properties.
- Citric acid has exfoliating properties, assisting with cell turnover and renewed skin.
- Shea butter is super hydrating and anti-inflammatory, and contains fatty acids and vitamins to create skin softer than a baby’s bottom.
Allergy note
If you are sensitive to citric acid, sub with 1 cup of fine Epsom salt flakes (the bombs won’t fizz if there is no citric acid, but they will still be lovely and make your skin feel luscious and soft).
You will need
- Round stainless steel bath bomb moulds (we found the stainless steel moulds work the best). Having a minimum of 3 moulds will allow you to easily make a full batch of bath bombs.
- Plus a spray bottle for the water.
- I like to wear rubber food prep gloves when making these, but they are not essential.

Makes: 6 round bath bombs
Preparation time: 1 hour, plus overnight to set
INGREDIENTS
- 2 cups bicarbonate/baking soda (bicarb soda, sodium bicarbonate)
- 1 cup citric acid (or use epsom salts)
- 1 1/4 cup oat flour (you can make your own using oats and a high-powered blender)
- 40 grams of pure shea butter (about 1/4 cup when well packed)
- Water, in a spray bottle (or witch hazel)
- Rose petals to decorate (optional)
METHOD
1. Mix together all of the dry ingredients in a large bowl and break up any clumps.
2. Melt the Shea Butter in a pan on the stove, on low heat, ensuring it does not burn.
3. Slowly mix the melted Shea Butter into your dry ingredients, a drizzle at a time, to prevent over fizzing your mixture. The mixture at this stage should still be crumbly but slightly hold together when squeezed. Refer to the video on the home page for the exact consistency.
4. Add sprays of water or witch hazel, a few sprays at a time.
5. Keep adding sprays of water and mix it until the mixture keeps its form when you grab and squeeze a handful. Do not make it wet, though.
6. Grab one side of the mould and place a small amount of dried rose petals into the bottom of the mould (only add rose petals into one of the moulds), then cover with the bath bomb mixture and pack in well using your hands.
7. Working with a small bit of the mixture at a time, continue to press the mixture into the mould, pressing after each addition to ensure it is well packed. Again, check the video on the home page.
8. Once the mixture has reached the top of the mould, continue adding mixture and pressing down lightly to create about a 3 cm (1.5 inch) mountain of mixture. Place it on the bench (or in the bowl as shown in the video) and repeat with the other side of the mould following the same process.
9. Once each side is overfilled (heaped high), bring the 2 sides together over the bowl of mixture and push together firmly together, turning them in opposite directions, allowing the excess mixture to fall back into the bowl as the 2 sides get closer together.
10. Continue to turn and push each side together until both moulds are touching, and creating a round ball. Continue to press each together to ensure the mixture is packed firmly.
11. Holding the bottom of the bath bomb mould, use a teaspoon spoon to gently tap the top of the mould, as this will enable easy removal of the top mould. Then gently, using your hands, remove the top so your bath bomb is showing its top half, but still sitting in the bottom half of the mould.
You will not take off the bottom mould just yet.
12. Place the bath bomb, with the mould still on the bottom, into a tray covered with a scrunched up tea towel or something similar to keep the bath bomb upright.
13. If you have a few bath bomb moulds, continue making each bath bomb, removing one side of the mould then placing it into the tray.
We found that leaving the bath bombs in one side of the mould for a minimum of 30 minutes (up to 1 hour) gives it time to slightly dry and firm.
14. Then cover the exposed part of the bath bomb with an empty bath mould, so you can turn over the bath bomb, and then use a teaspoon to lightly tap the other side, removing the top to then let the other side of the bath bomb dry for 30 minutes to 1 hour.
15. Once all the bath bombs have dried on each side for a minimum of half an hour, you can remove the bath bomb completely, very slowly.
16. Leave them overnight to set: Then place each one back into the tray to continue drying overnight. If the air is damp, (such as living near the ocean), leave the tray in the oven overnight—do not turn the oven on, it’s just less humid in there!
You're done. Pop a bath bomb into your warm bath and enjoy. It should fizz beautifully for you.
TO STORE THEM
Wrap them in cellophane and tie with a ribbon (as shown in the pic) or use cling wrap or foil to prevent the citric acid from swelling up over time, especially if you live in a humid climate and then store in an airtight container.
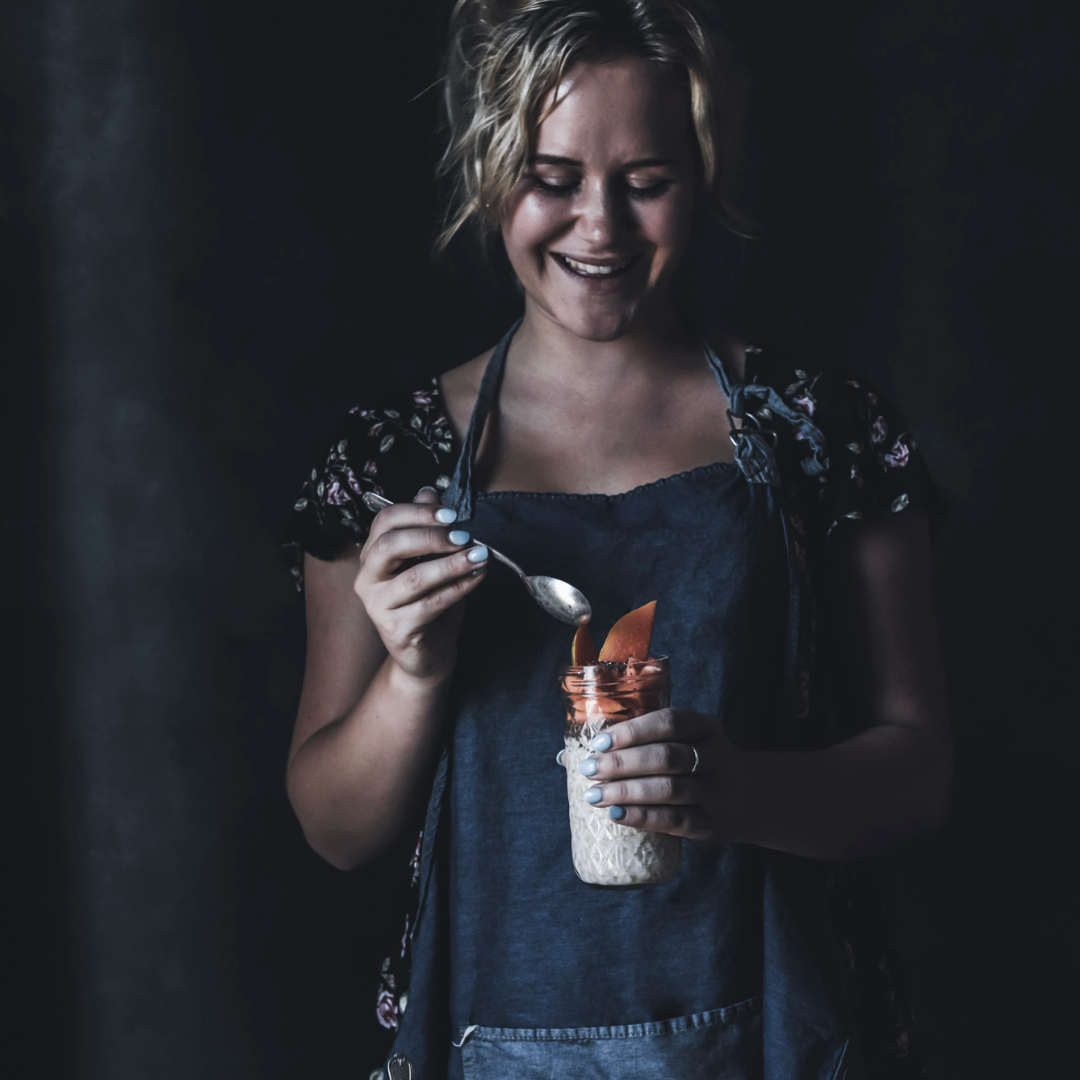
Food images by Karen Fischer, Recipe by Karen Fischer and Katie Layland. Katie is shown in the video.


